
Written by Charitha
WSO2 StratosLive, the most complete open PaaS (platform-as-a-service), includes multiple types of SOA middleware services which can be used to build and host your SOA based solution. One of the newest additions to WSO2 middleware platform is, the functionality which enables you to have your own database in cloud for free!This post guides you through the steps of creating your own data storage in cloud using WSO2 StratosLive.
Step 1
First, we need to create an account in stratoslive. You can have a demo account free of charge.
Open a browser and access WSO2 StratosLive landing page. Click on Get Started Now for Free
You will be directed to domain registration page.

Fill the form and follow the instructions in registration email to activate the account.
Once you logged into WSO2 StratosLive, you will be shown all of the cloud services which are available for use. Out of those services, click on Data Services Server link.

You will be directed to the home page of WSO2 Data Service Server.
Step 2
Once you logged into WSO2 StratosLive, you will be shown all of the cloud services which are available for use. Out of those services, click on Data Services Server link.

You will be directed to the home page of WSO2 Data Service Server.
Step 2
Now, we have accessed the home page WSO2 Data service server in cloud. You will notice Databases menu item in the left navigation pane as shown below.

Click on Databases --> Add option in the above screen. You will be directed to the New Database page. In this page, you will be asked to provide Database Server Instance Name and a name for the database which you are going to add. By default, WSO2 Data Services Server provides you with a pre-configured Amazon RDS instance, in which you can create your database. You also add your own database server instance and use that instead as you preferred. But in this example, we will use the default database server instance. Lets select the default DB server instance and enter "qa" as the name of the database.
Once you click on create, you will be prompted a confirmation dialog, "Database has been successfully created".
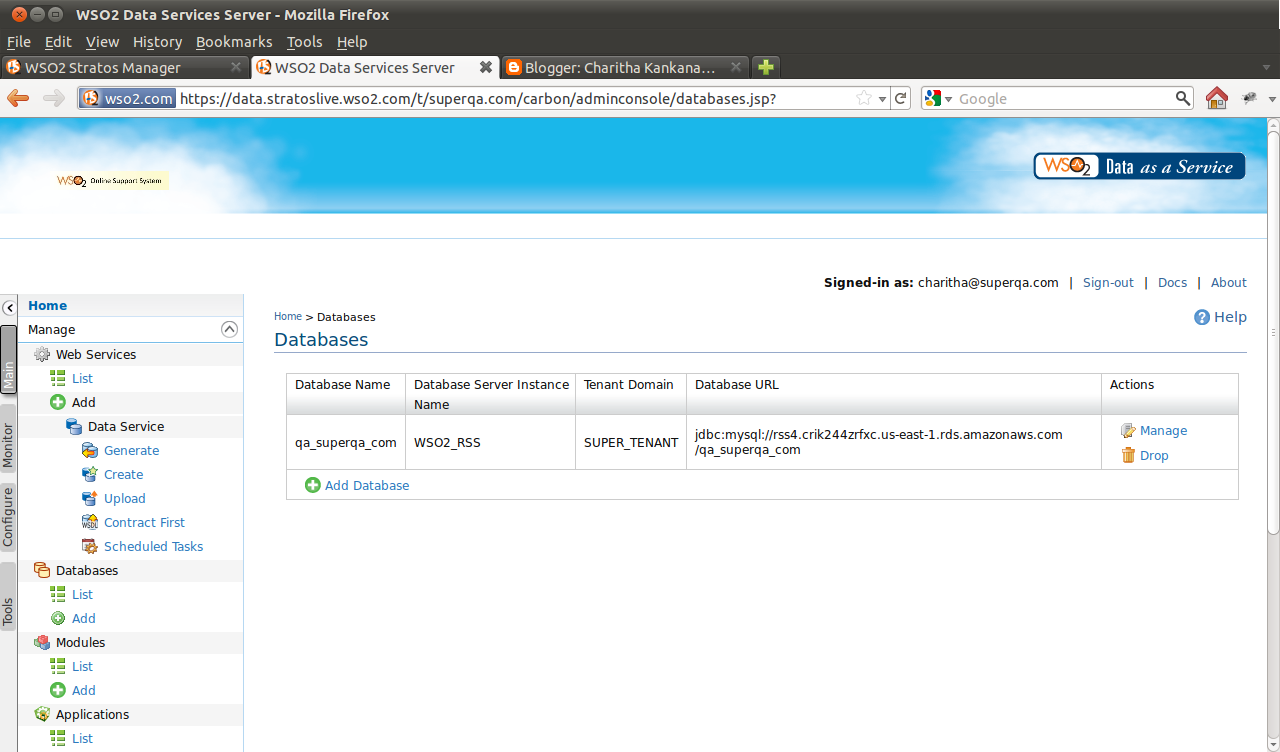
Your newly created database will be listed in database list as shown below. Note that, the name of the database is suffixed with tenant domain name.
Step 3
We have created our first database successfully in cloud using WSO2 Data Service Server. Lets, add a new user to the database and create table so that we can use the database for any DB related operation.
Click on Manage icon in the above table. Database User Management page will be shown.

Before adding any user, you should add a database user privilege group. Click on Add Privilege Group and add a new privilege group. Specify select, insert, update, delete and create privileges for the group as shown below.

The newly created privilege group will be shown in Database User Privilege Groups page as follows.

Now, go back to the previous page and click on add new database users icon to access Database Users screen where you can add DB users. Click on add new user.
Specify "test" as username and password and select "group1" as the privilege group.

Step 4
Once you create a new DB user, it will be listed in Database Users page with the options to explore database using the given user credentials, edit, drop and create carbon datasource.
Click on explore database. Database console screen will be displayed as follows. This console allows you to issue any SQL statement and act as an SQL editor for your database.
You may type any SQL statement and hit run button so that the query will be executed on the database which has been created in the default amazon RDS instance provided by WSO2.

Now, you can use this DB as your storage media in your SOA platform in cloud. For example, you may deploy a webapp in WSO2 Stratos AppServer which talks to this particular DB. Or you may simply create a data service using this database.
No comments:
Post a Comment